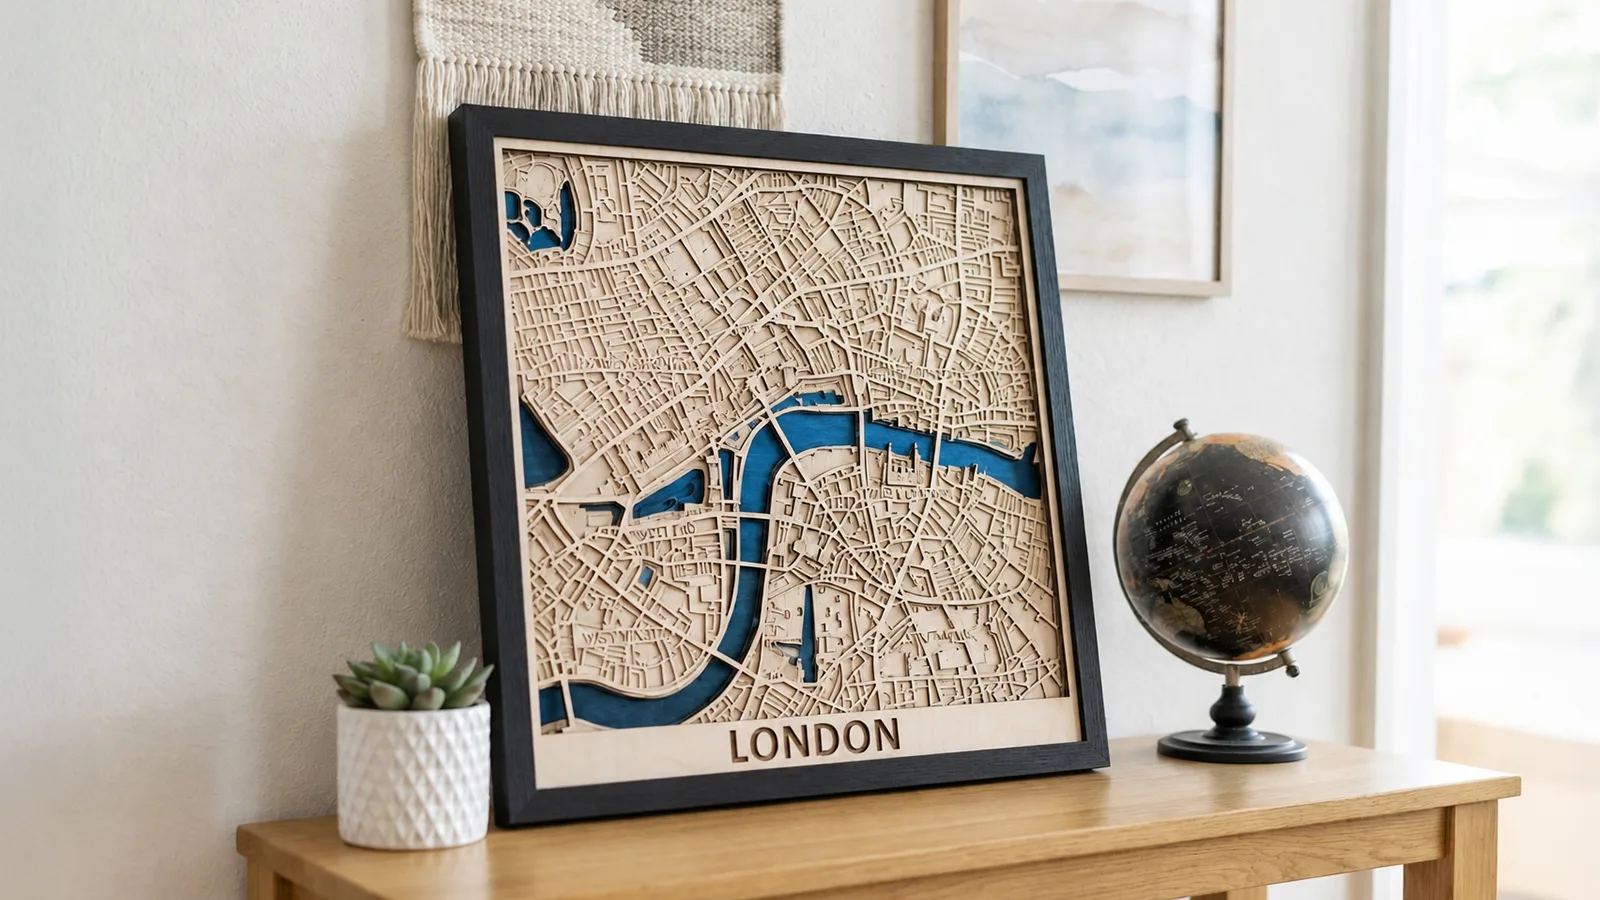
Ask anyone who has made a laser cut map: the cutting is the easy part. The real work is getting a clean, usable map of the right location – a base vector map for your laser cutter. This article covers what a laser-ready map file needs, why the common screenshot-and-trace method costs so much time, and how to export a clean SVG map of any location instead.
The usual way: screenshot, trace, untangle
Without a proper source for vector map data, making a laser cut map starts with a workaround: you capture the map as an image (usually a low-resolution Google Maps screenshot or a pixel-based export from a complex GIS data tool) and somehow convert those pixels back into vectors – auto-tracing, manual tracing, or a mix of both.
The conversion is where both time and accuracy get lost. Pixels don't know what they are, so nothing in a traced map has structure: roads, water and land come out as merged, jagged shapes that only approximate the real geometry. Before the laser software can do anything useful, everything has to be untangled by hand – elements selected and sorted into layers, stray artefacts deleted, shapes repaired. The result is an hour or more of painful vector clean-up before the actual project begins.
What a laser actually needs from a map file
Laser software assigns operations (such as cut, score, engrave) to vector paths. A good base map file therefore needs to be:
True vector – real paths from real map data, not an approximation traced from pixels.
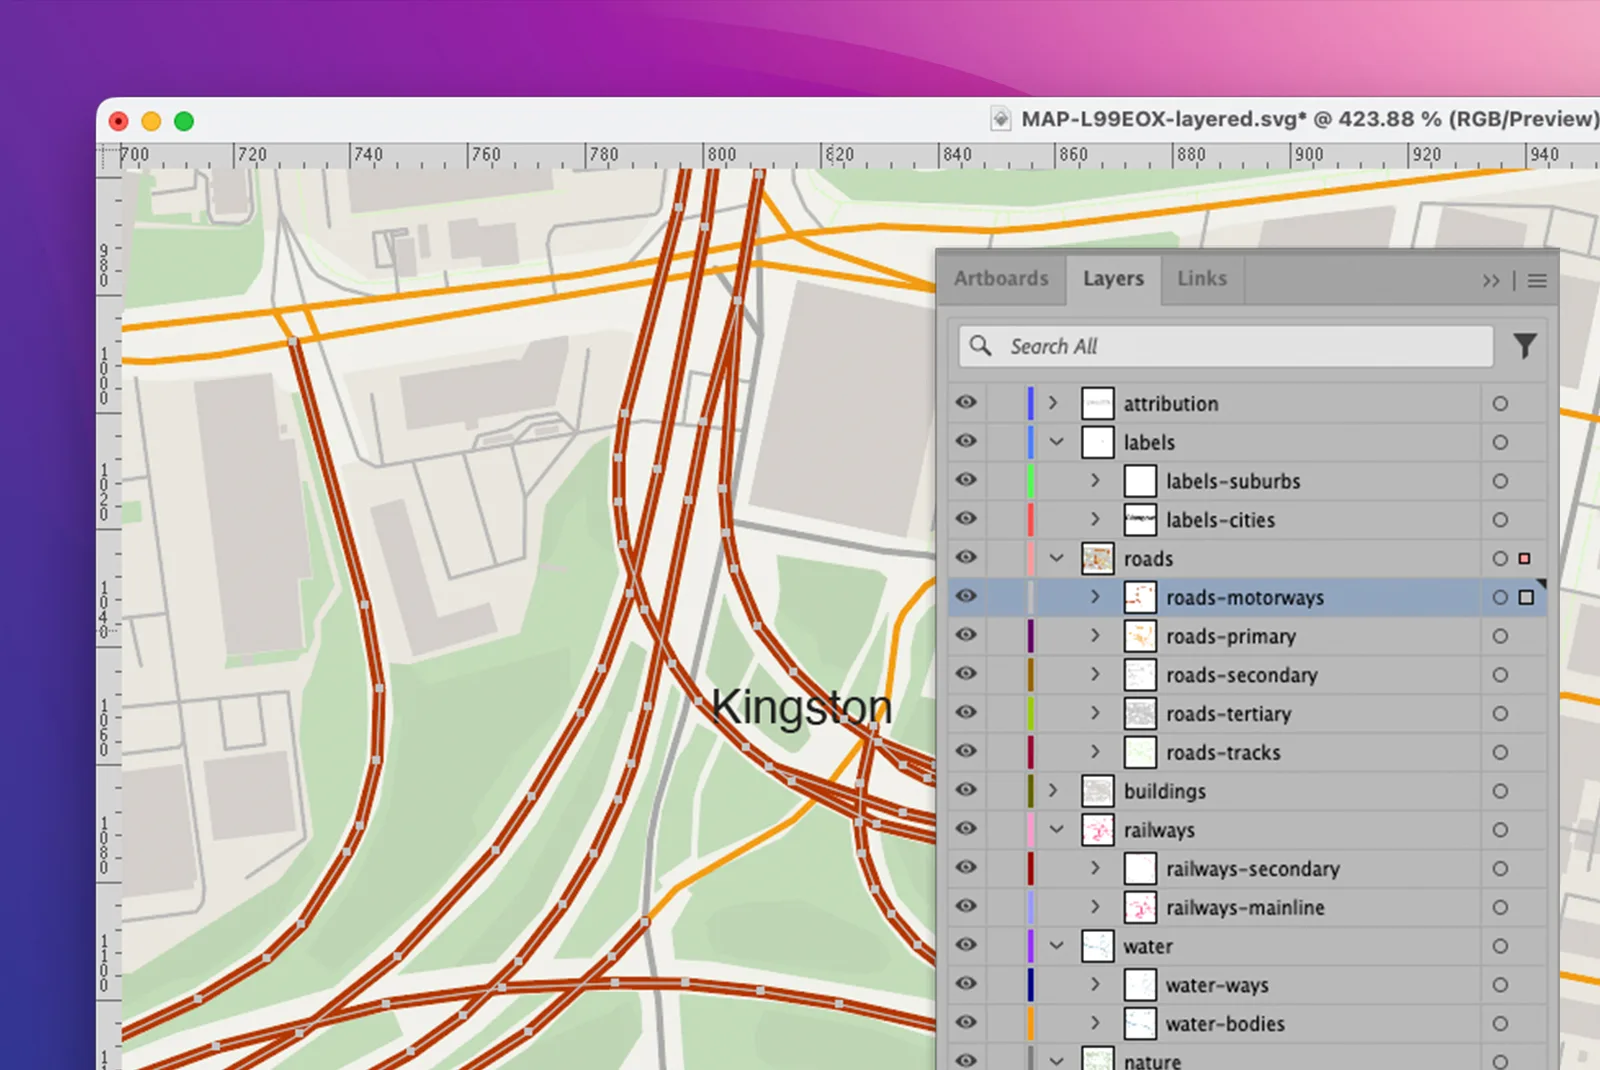
Separated into layers – water, roads, land and green space each selectable on their own, so each can get its own operation or its own sheet.
Clean – no random artefacts, no duplicate overlapping lines, no broken shapes and paths.
This is a data problem, not a design problem – which is why solving it with tracing tools never feels right.
Export the map instead: MapVG
MapVG, the online vector map maker, skips the entire trace-and-untangle stage. It converts OpenStreetMap data – real geographic geometry, not pixels – directly into a layered SVG file, ready to use in any vector-compatible software.
How to convert a map into vector for laser cutting:
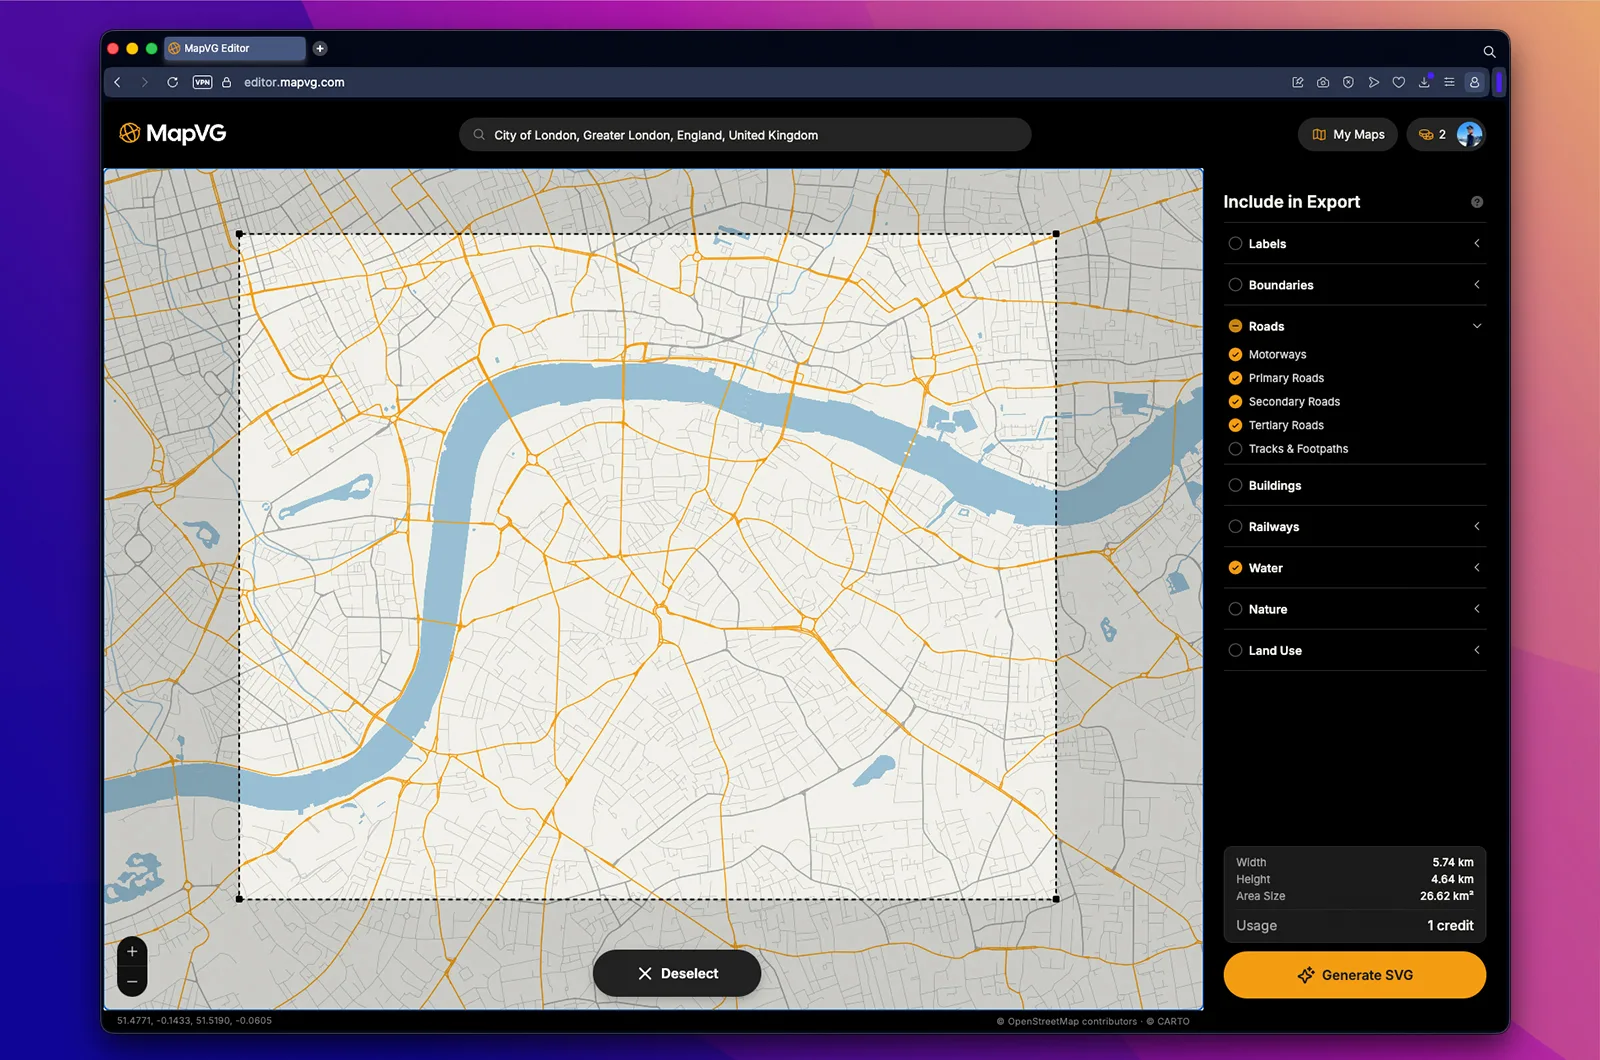
Open the MapVG editor in your browser, search for any location, and frame the exact area.
Choose which layers to include – roads, water, buildings, green spaces, land.
Export the layered SVG map in seconds.
Every element arrives as a true vector path, already grouped into named layers – the file structure a traced screenshot takes an hour to approximate, straight out of the export.
Tip: MapVG is free to try – simply select a small trial area in the MapVG editor and test the output quality in your vector editing program.
The layers, from a laser perspective
The export contains the map organised by feature type, and each layer maps naturally onto laser work:
Water – closed shapes, ready to assign to cut operations: the cut-out rivers and lakes that give layered wooden maps their depth.
Roads – vector lines, ready to score or engrave as-is; for cutting streets through the material, thicken and outline the strokes in your vector editor first (Outline Stroke + Unite in Illustrator, Stroke to Path + Union in Inkscape).
Land and green space – closed shapes for backing layers and parks.
Buildings – closed polygons to add detail to your laser cut map.
Each MapVG export includes both a flat and a layered SVG. For laser work, use the layered file. The difference is explained in flat vs layered SVG maps.
Common questions about laser cut MapVG files
Can I sell my laser cut work made with MapVG?
Absolutely. MapVG maps are built from OpenStreetMap data under the ODbL licence, which allows personal and commercial use. That means finished pieces can be sold on Etsy, at markets, or on commission.
When using a MapVG map in a commercial project, be sure to credit OpenStreetMap correctly in your product listing. Take a quick look at our licensing guide for more info.
Which laser software can open the SVG files?
All common laser software imports SVG directly, including LightBurn, xTool Creative Space and the Glowforge app. Import the file, assign cut, score or engrave operations per layer, and run the job.
Can I export DXF files?
No – MapVG exports SVG only. But since all common laser software reads SVG, this is rarely a limitation; if your workflow specifically requires DXF, Inkscape can convert the SVG for free.
Should I use the flat or the layered SVG?
Every MapVG export contains both. For laser work, use the layered file – each feature type sits on its own layer, ready to be assigned its own operation or sheet. The full comparison is in flat vs layered SVG maps.
How much do the map files cost?
SVG maps up to 1 km² (about 0.4 mi²) are free to generate and download. Larger exports use a simple credit system: 1 credit equals 1 map, regardless of size. There’s no subscription or plan, but discounted credit packs are available.
Try MapVG for free
Give MapVG a try for free: Small test areas up to 1 km² require no credits, allowing you to check the output quality in your laser software before exporting your final map. Simply log into the MapVG editor, select a test area and hit “Generate SVG”.